We are not bored in the house.
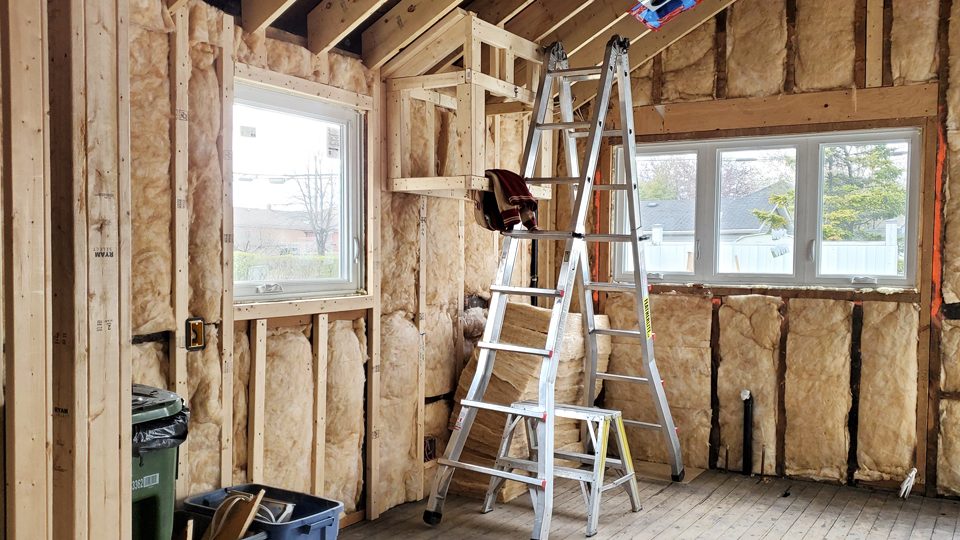
I want to preface this post by saying that I am well-aware that most of my photos look the exact same from post to post, but I promise this will be the last update featuring PPH’s open walls.
We’ve made it through the stages leading up to drywall; demo and clean-up, framing and nail removal, plumbing and roof patching, through to electrical and insulation. And now, I’m beyond excited to report that we are almost there, folks. We are almost at drastic-level transformation. The “after” photos we’ve been waiting for (but won’t find in this post – ha sorry).
But first, a very special thank you to my dad.
 Civil engineer on weekdays and an entire home renovation team on weekends. I know how lucky I am to have a dad who dedicates all of his free time to building me my adult dollhouse. And there is nothing like creating something with your old man, even when he does most of the work. Brilliant, meticulous and a wildly creative problem solver, I am endlessly grateful for his time, humour and generosity. Thank you to the man not only giving me walls in my first home, but the one who’s been doing it all my life.
Back to our regularly scheduled programming
Since my last post on framing, we’ve had an electrician rough-in the electrical, hired a roofer to patch the roof where we removed the chimney and added flashing, and lastly, filled the walls with batt insulation. Now that we’ve finished up adding the vapour barriers overtop of the insulation (not pictured below), here’s one last look before boarding.
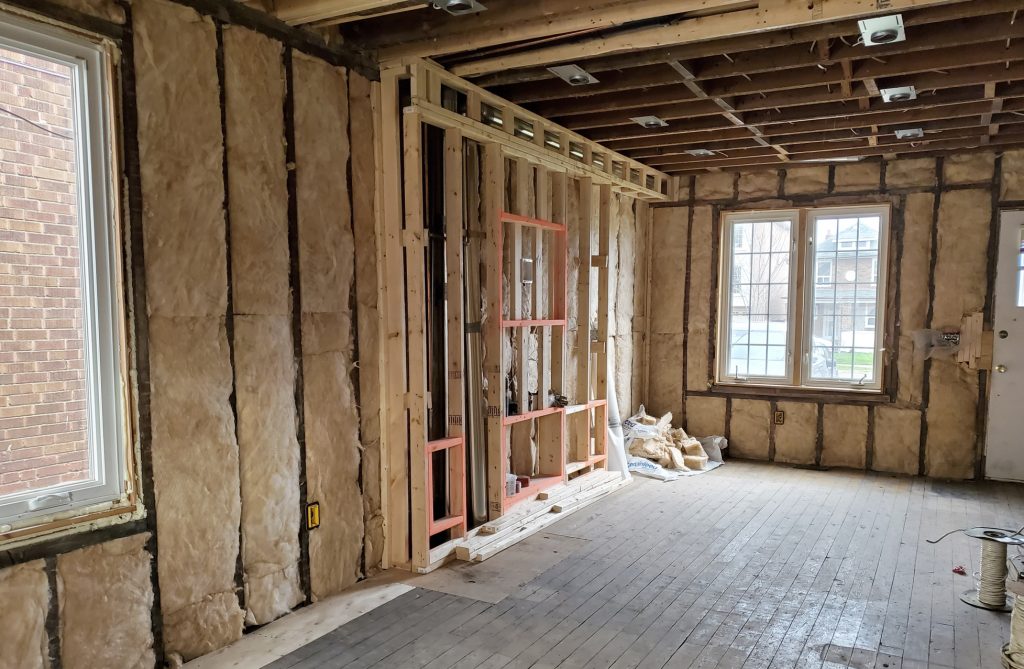
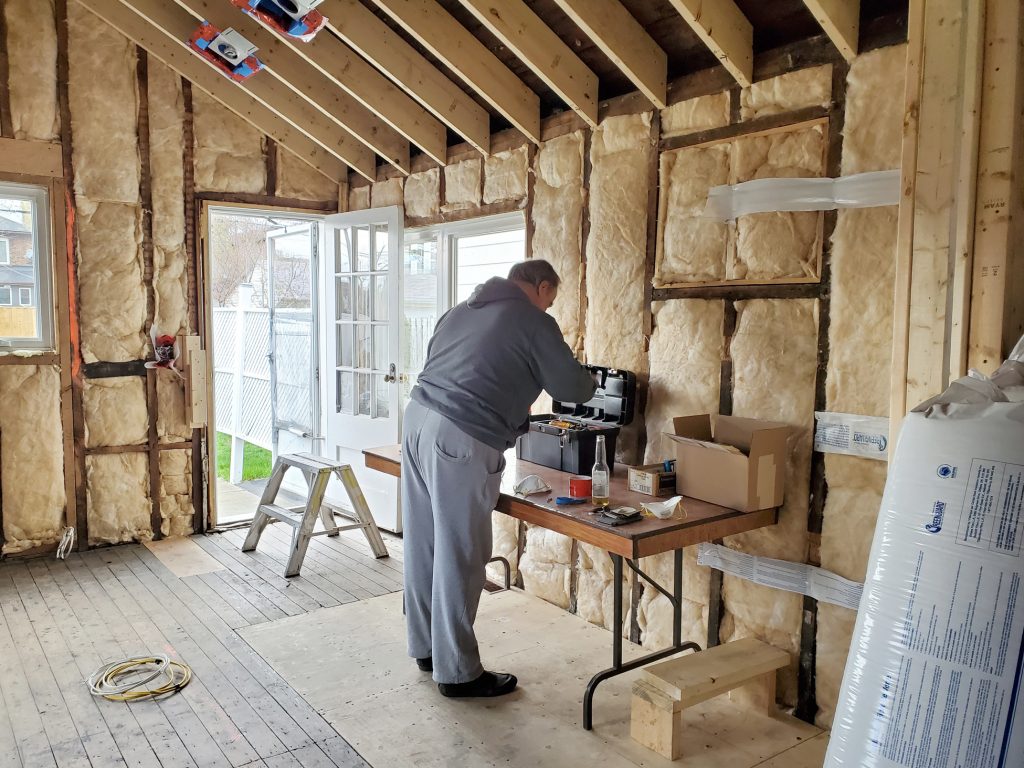
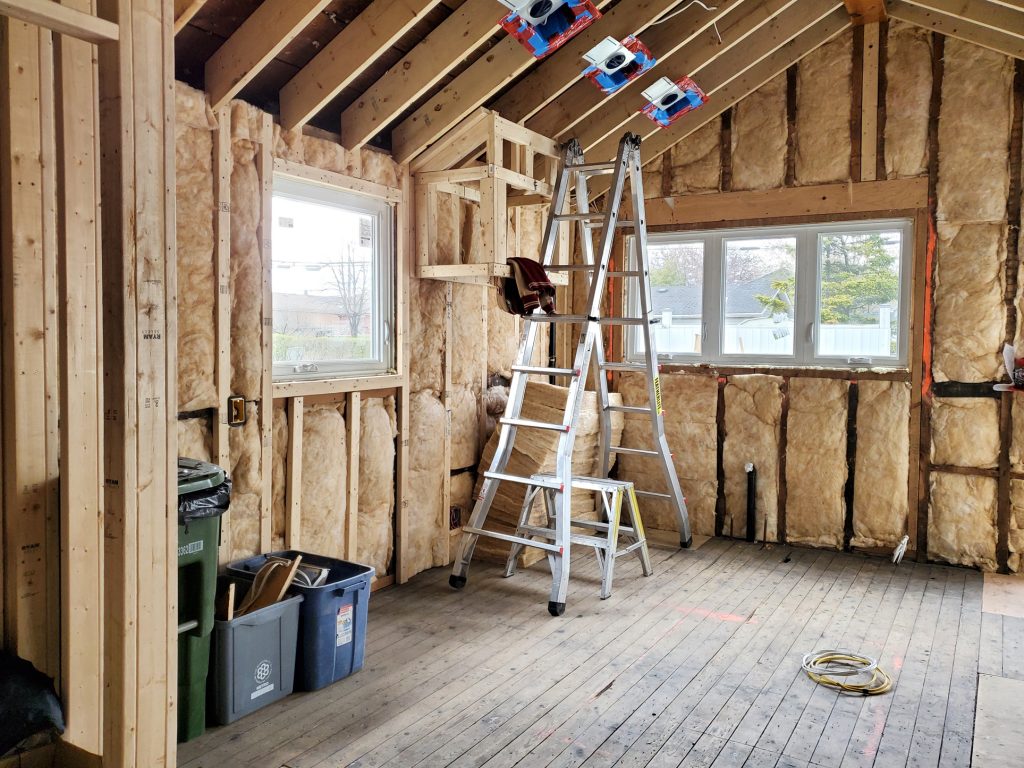
The ceiling has been insulated since this photo was taken, but those will be pot lights along the ceiling in between wood beams. The cables on the floor will wire the future island.
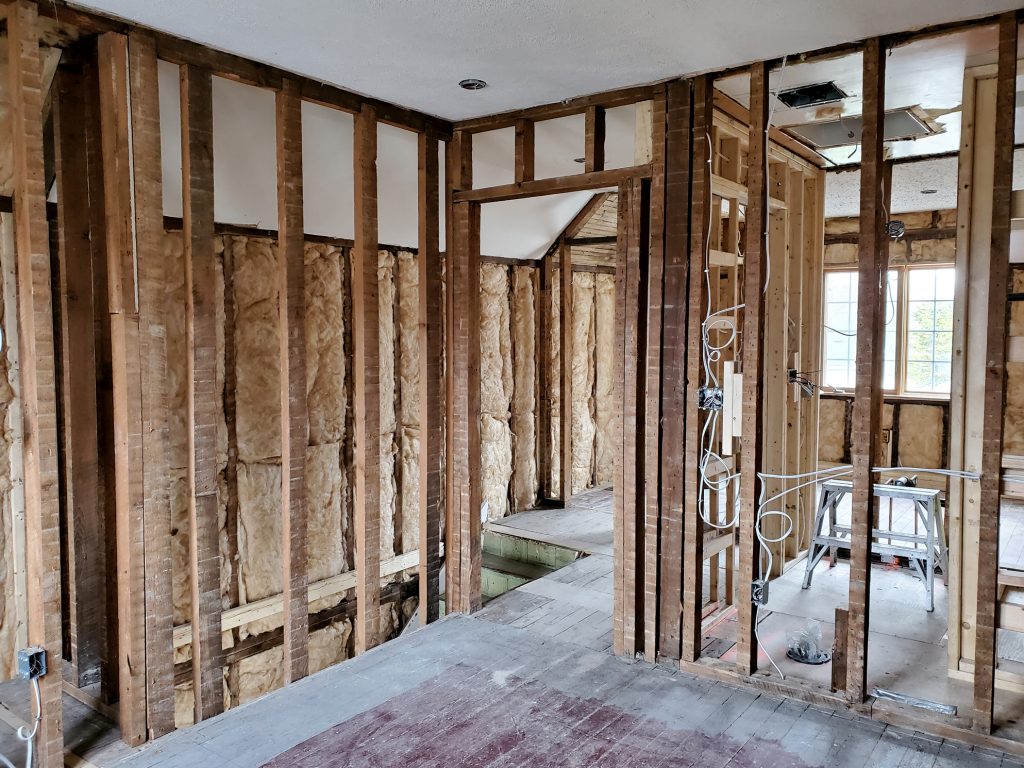
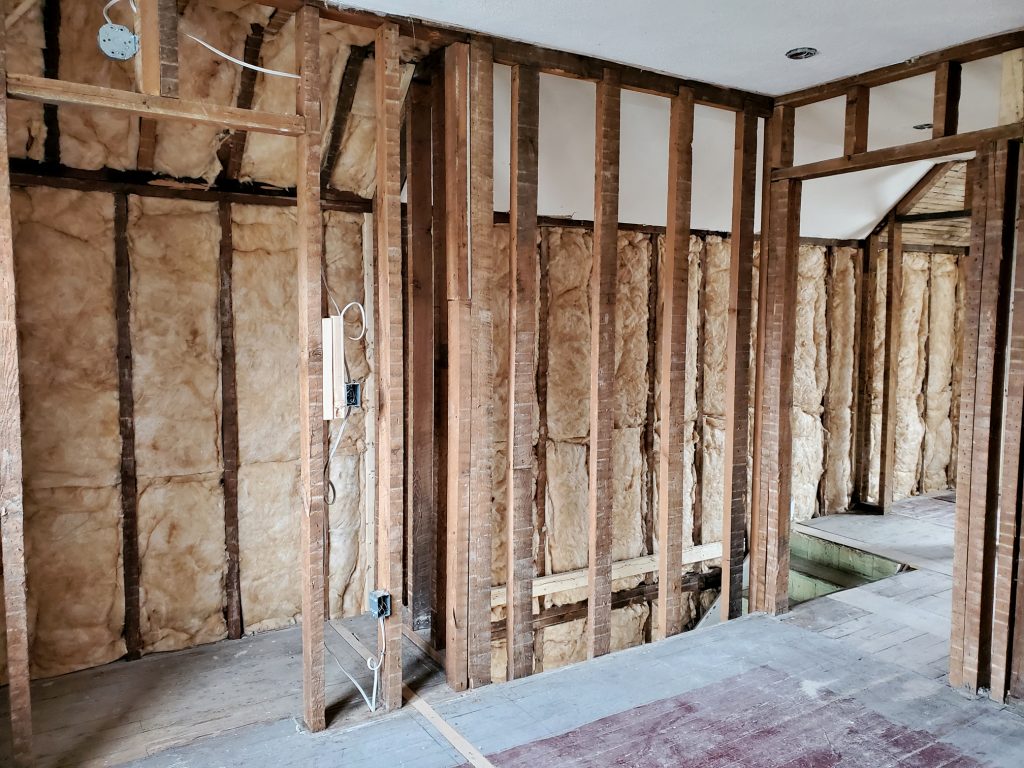
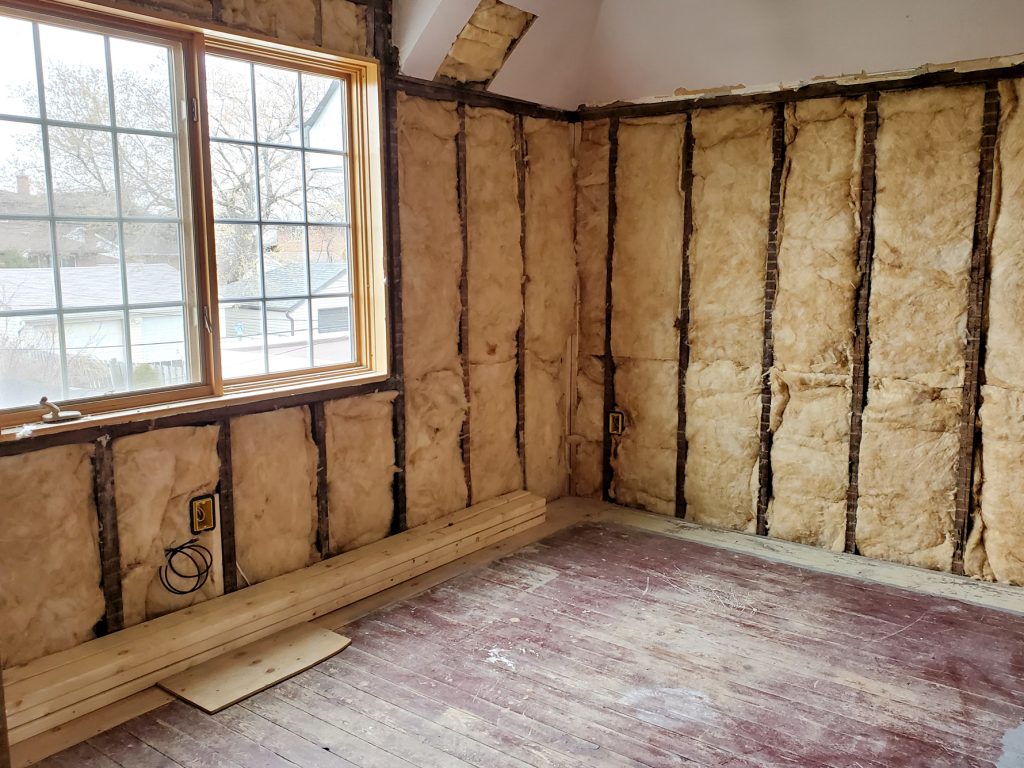
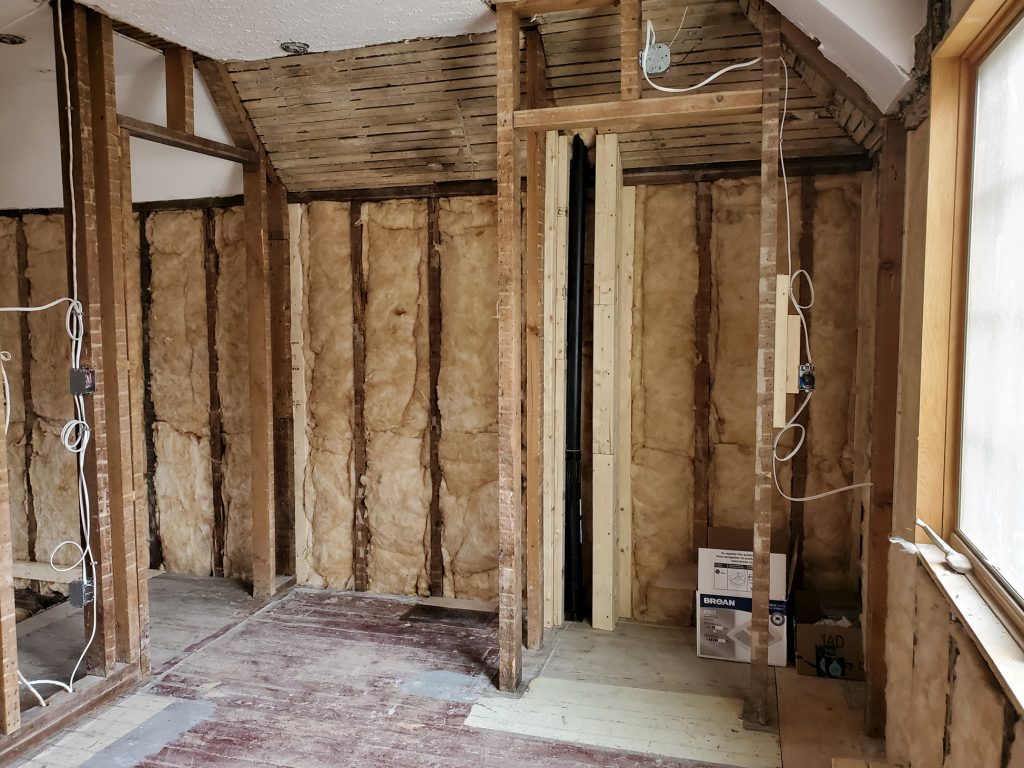
Fun fact: my dad insulated the top floor on his own in one day!
That’s it. I can’t imagine that code requirements or an entertainment wall dilemma that took 3 months and several attempts to solve are riveting to read. But stay with me, I think I’ll have a lot more to share in my next post.
Truly loving this and the progression, but specifically loved the Rosario feature.