
Demo Day(s)
")
Demolition has been something of an evolution, but for ease we’ll break it down into parts.
Part I
I first went to the house with my father (who is exceptional at all of this) and watched him take down some paneling to get to the walls. My only task was to pull the nails out of the paneling to avoid any mishaps – and I obviously, being the disaster that I am, managed to cut myself with a rusty nail. Ha I’m learning, okay? I’ll get better. Essentially, dad marked what was safe to come out and got a closer look at what was happening behind the walls to give us an idea of next steps. He is what we will call the Foreman, I, the GM – and together, we make the council.
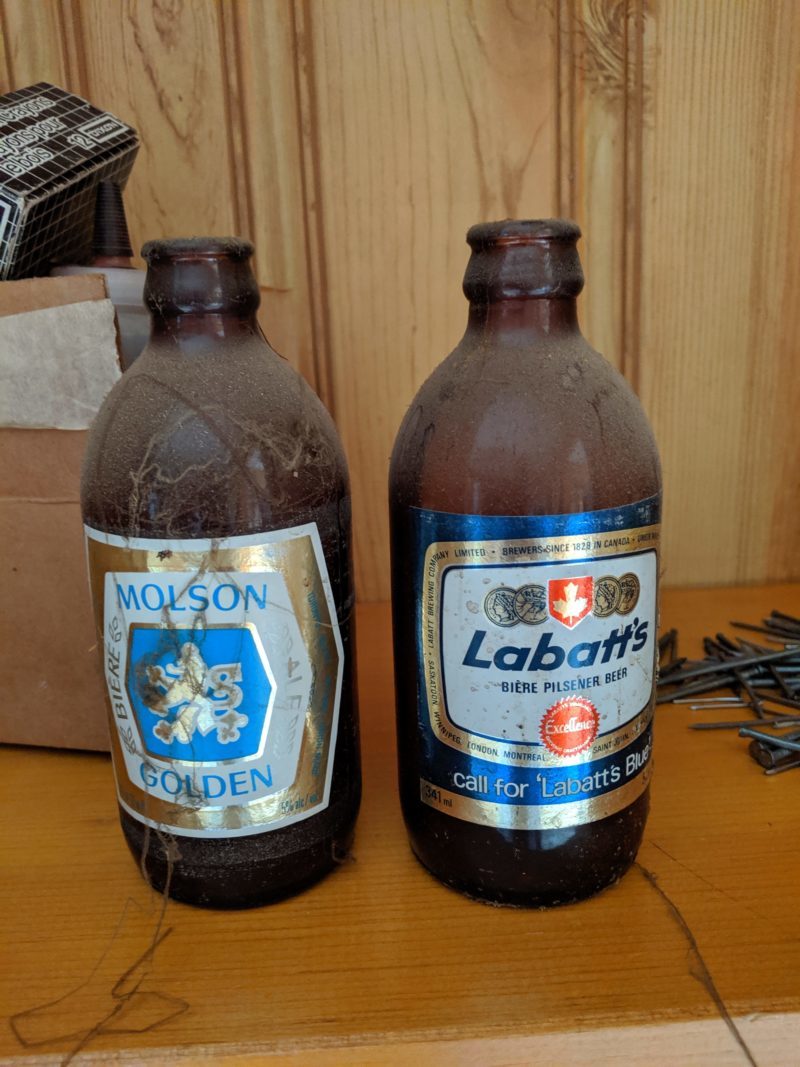
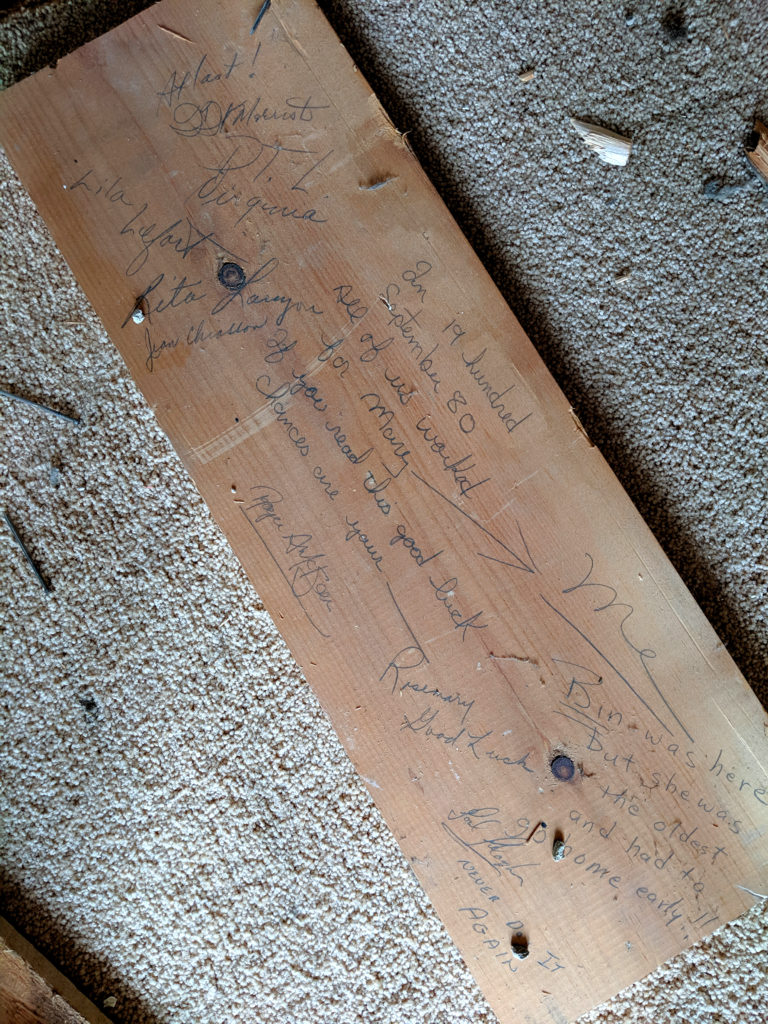
Chimney mystery solved…
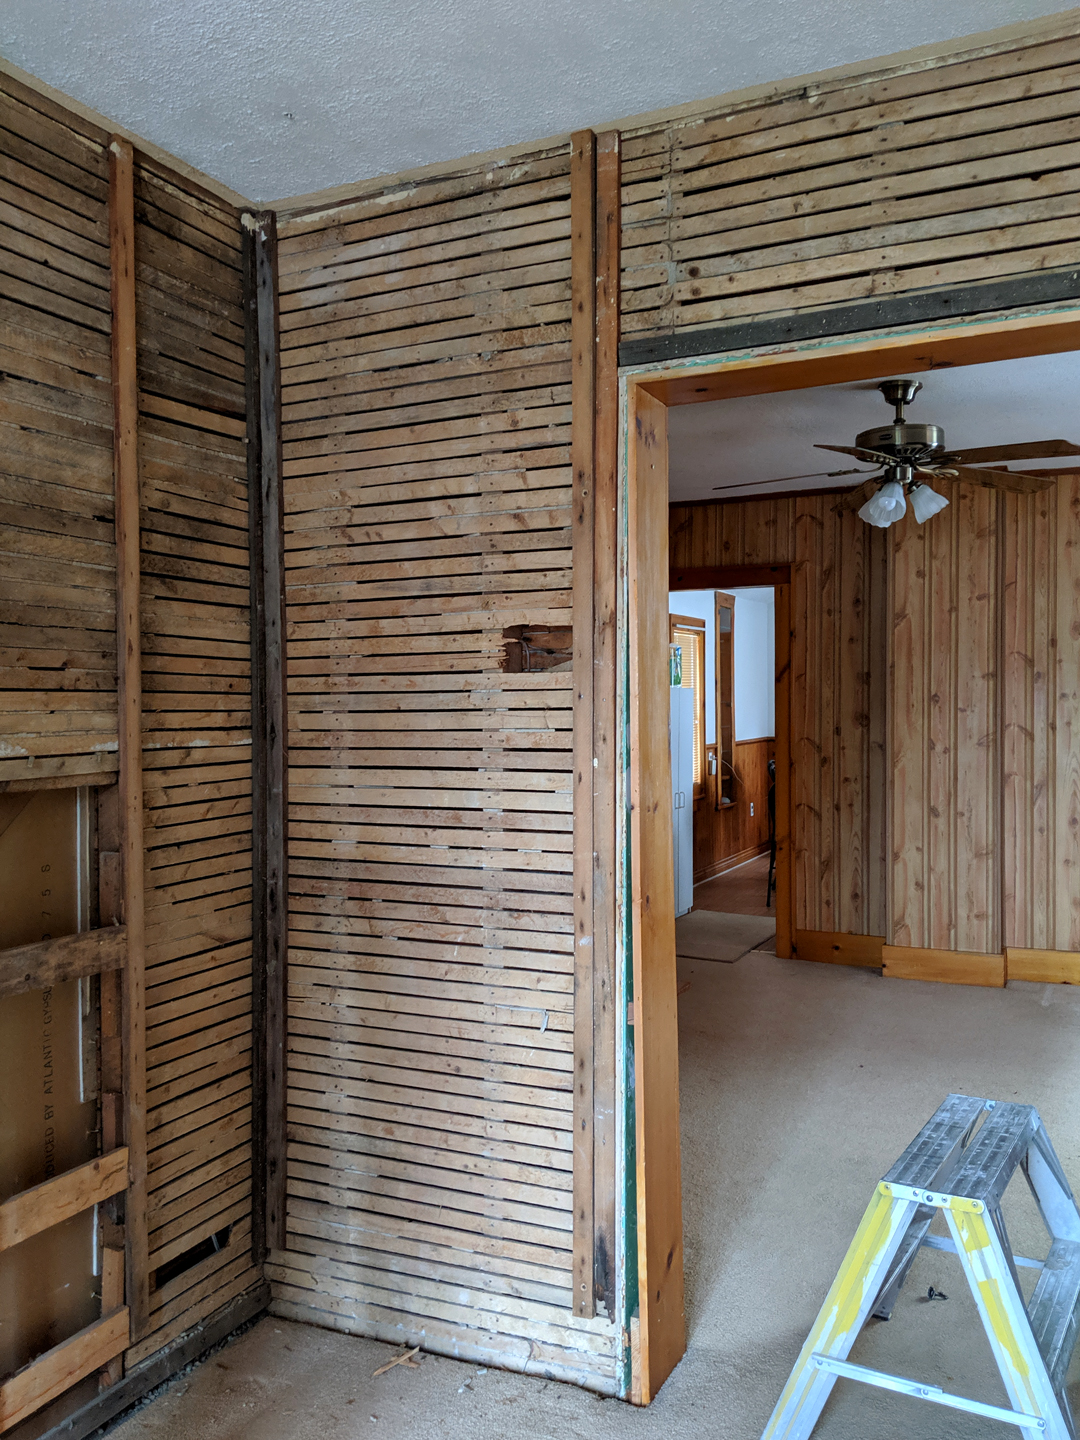
Stubbies from 1980? Best find so far. To the right, the rumoured chimney and two oddly-placed ducts covered up by this weird boxed wall you might recall from my last post (two separate ducts, by the way, going up to two adjacent upstairs rooms…). Lastly, the strapping below the paneling that sits overtop the insulation.

So, with a very clear list of instructions written into my phone and some marked areas for demolition, I recruited my team. By that I mean my family and friends willing to lend their hands on a Sunday. I wouldn’t be able to do half the shit I’m doing if it weren’t for them… plus, having your favourite humans around to help makes manual labour that much more fun.
Here’s a quick look at the outcome of that very first day:
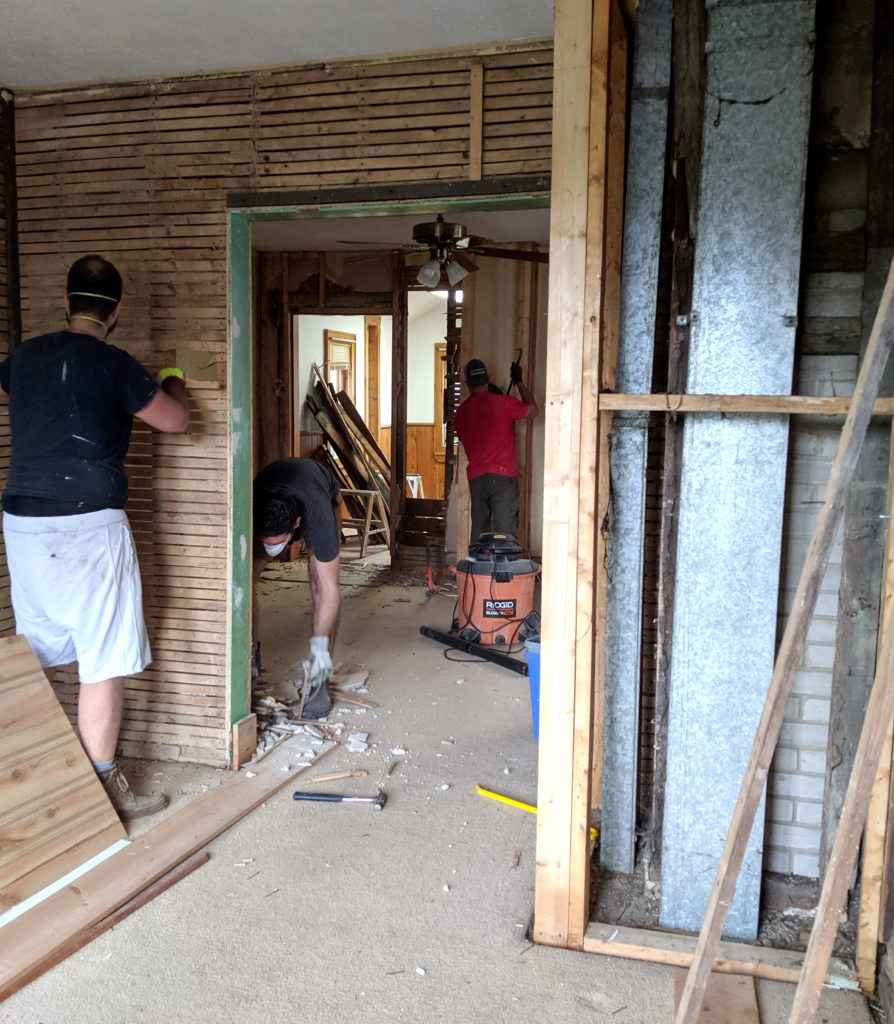
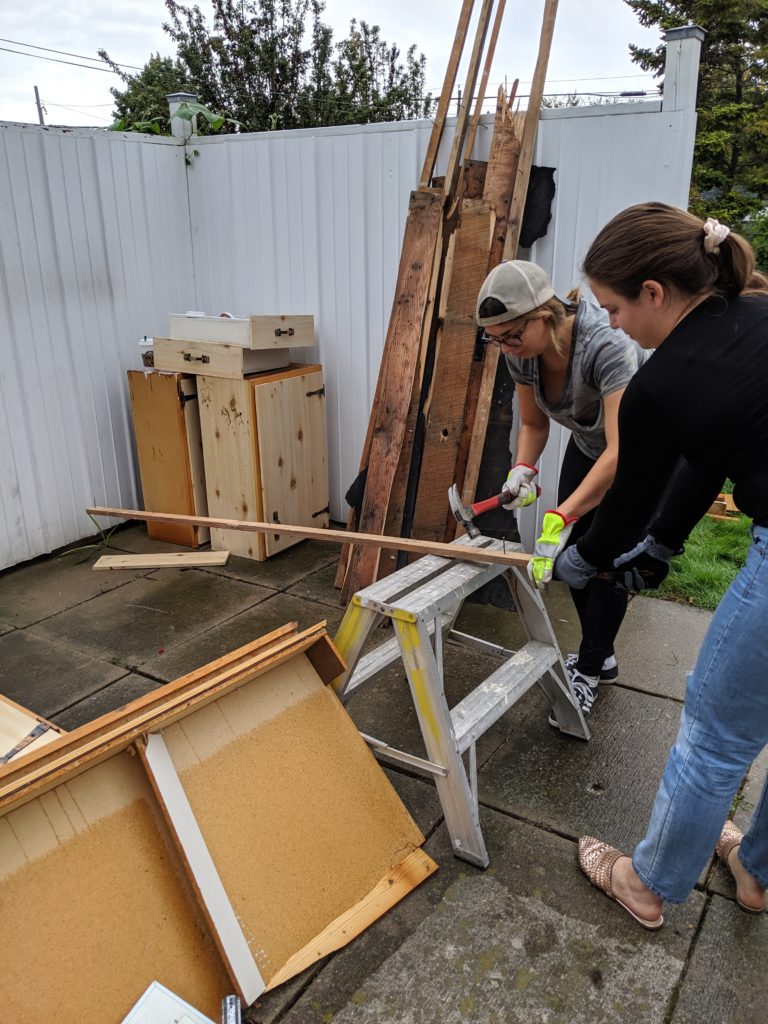
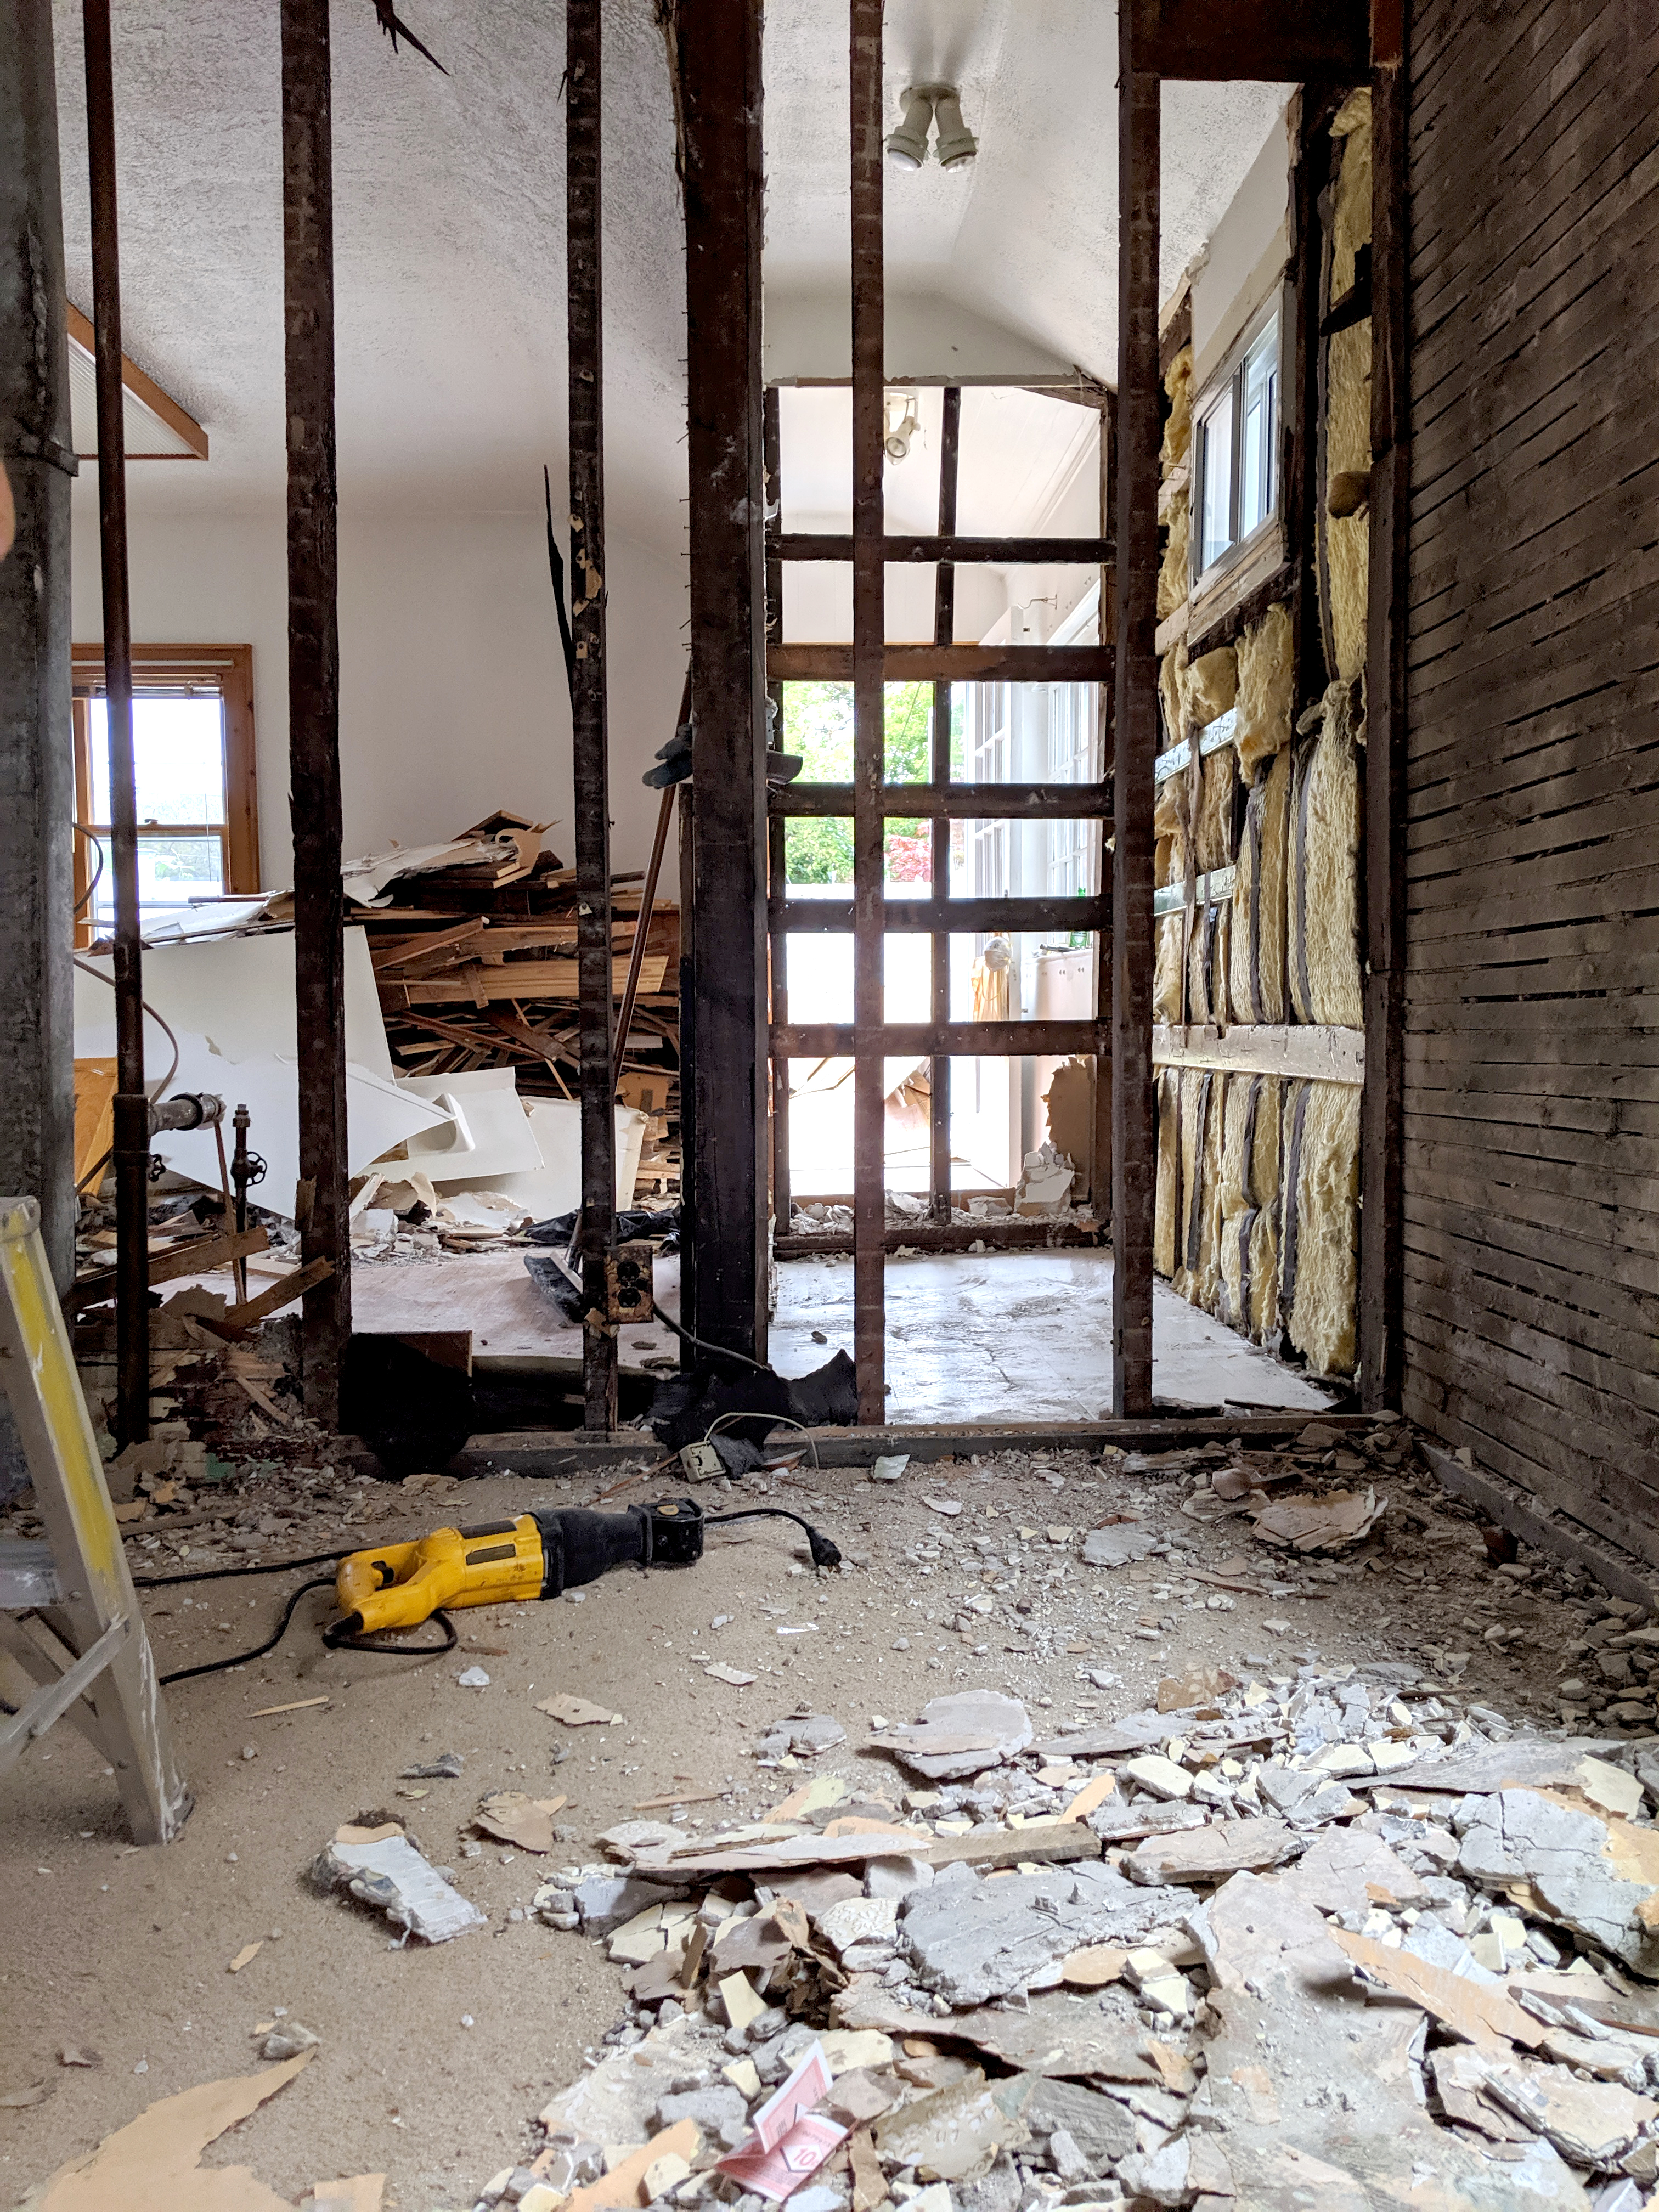
Significant progress was made on this day, but we may have underestimated the extent of the work needed for demolition. By the end of that first Demo Day, we had stripped away what we could from the walls and even more so from those intended for removal, including the kitchen wall and entire kitchen pantry – right down to the bones. We hardly touched the second floor, save for Michael’s rogue sledge-hammering but he got the ball rolling.
That brings us to Part II… which seems like the phase without end.
Part II
Things escalated, as they tend to do when it comes to renovation. I planned only to update the main floor and the upstairs bathroom but… “if you have brand new drywall on the main floor, and cracked plaster upstairs, it’s cheaper to redo all of the drywall all at once rather than try to patch the plaster…” Right? Yeah. Well, it’s too late now.
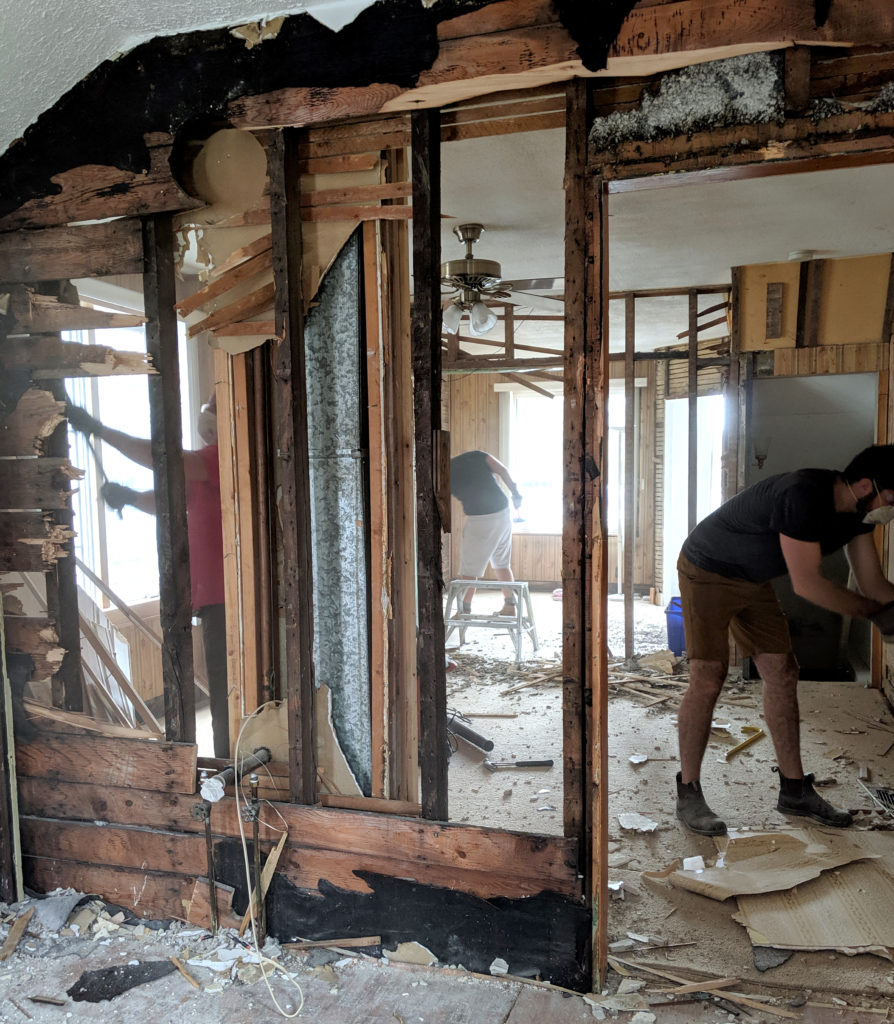
We ended up hiring labourers to try to move the process along. It was around this time we realized that the brick chimney, taking up an extra 3’x3′ in both the family room and the upstairs bathroom, served no real purpose at all. It was being used to vent the exhaust from the water heater in the basement, but for that much wasted space in a home already tight for space, it’s worth swapping to a high-efficiency heater. So. Out it went.
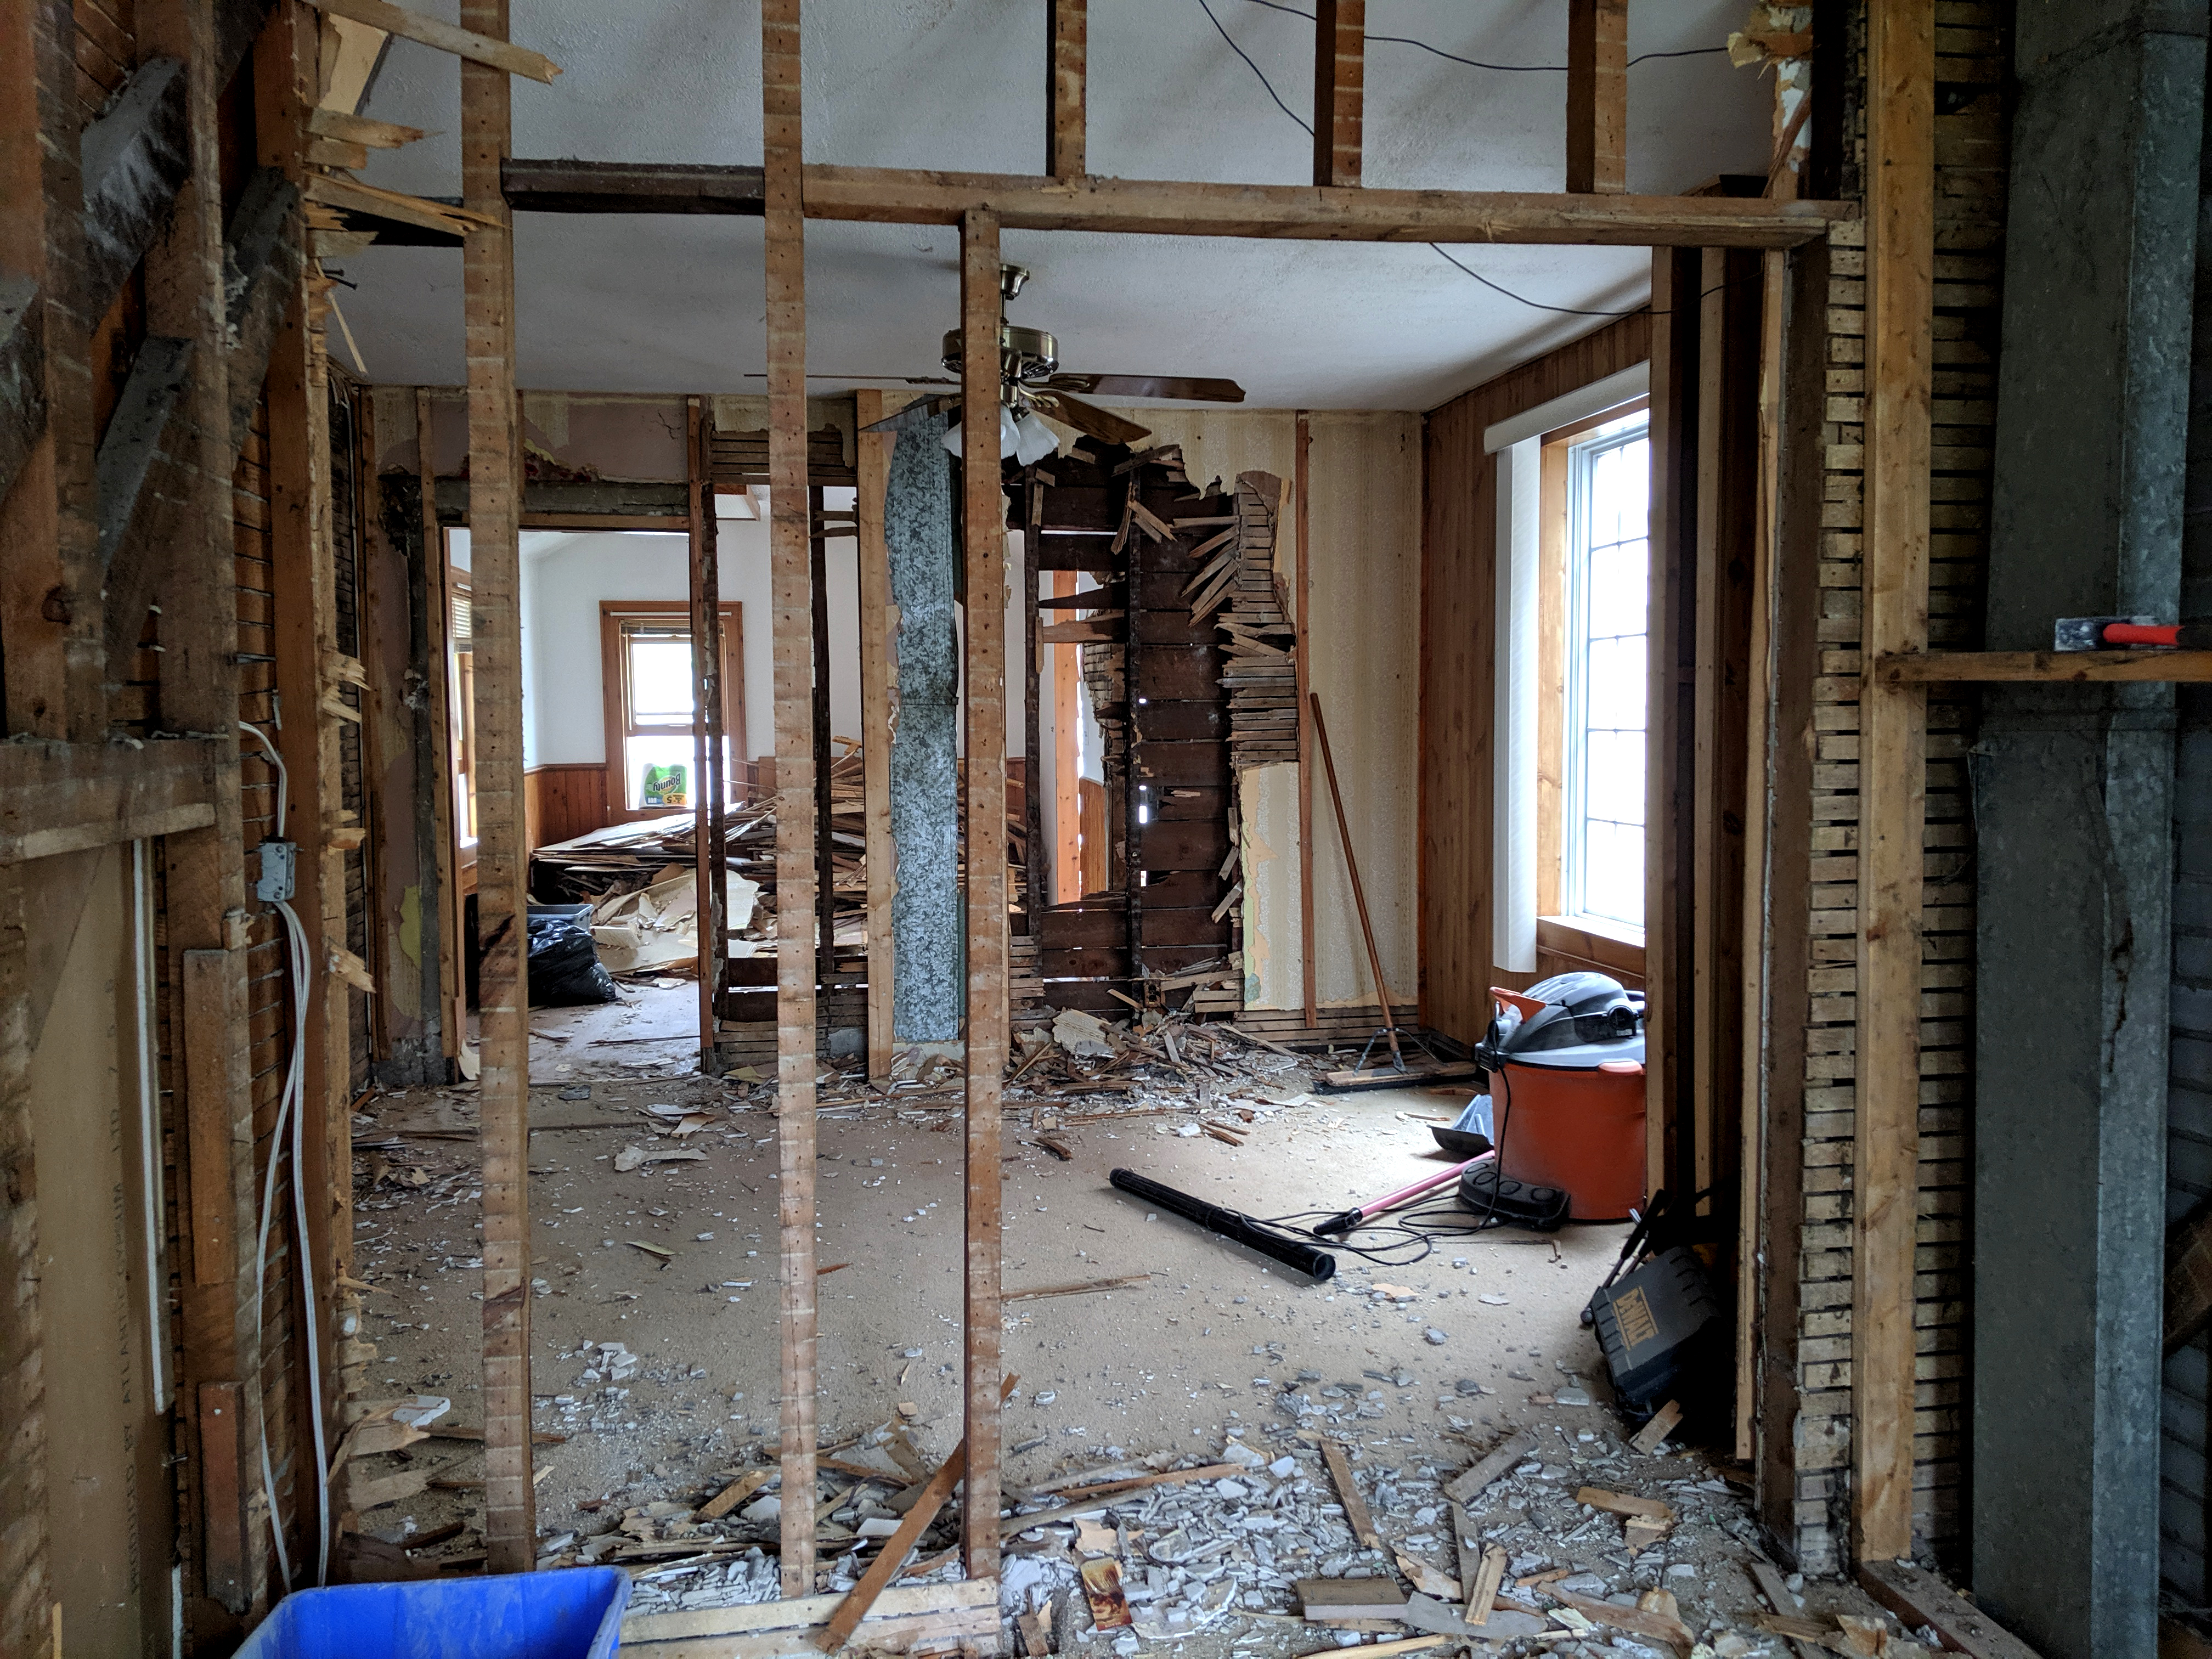
Take a look at my naked, bare bones house:
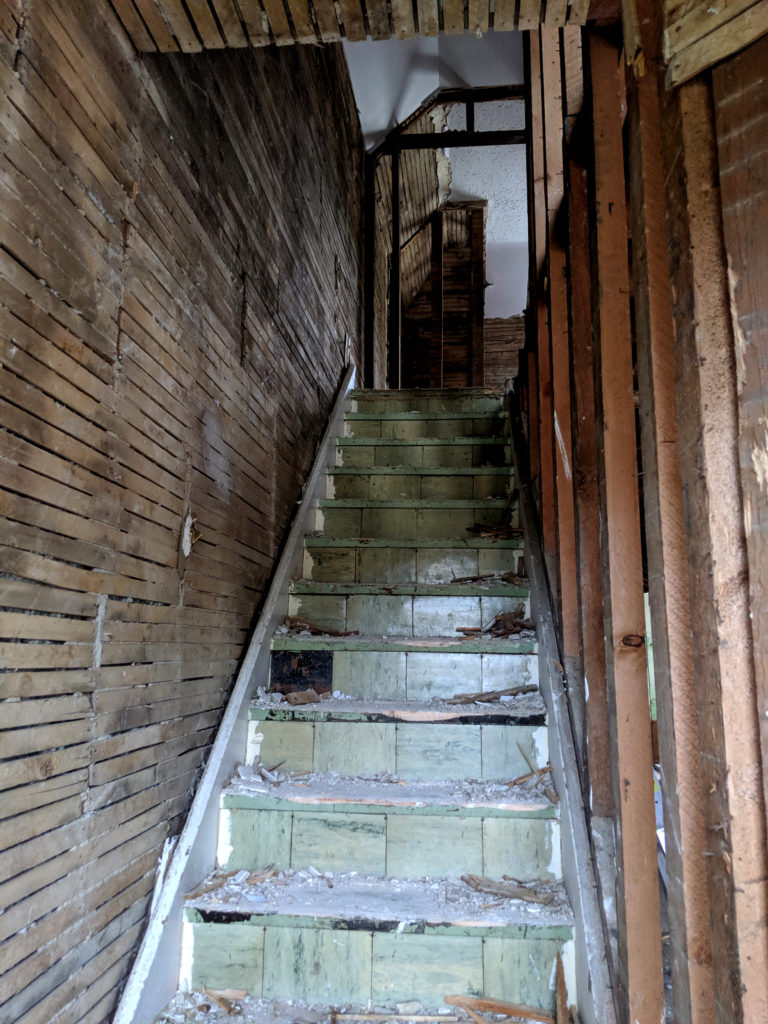
Creepy death stairs. 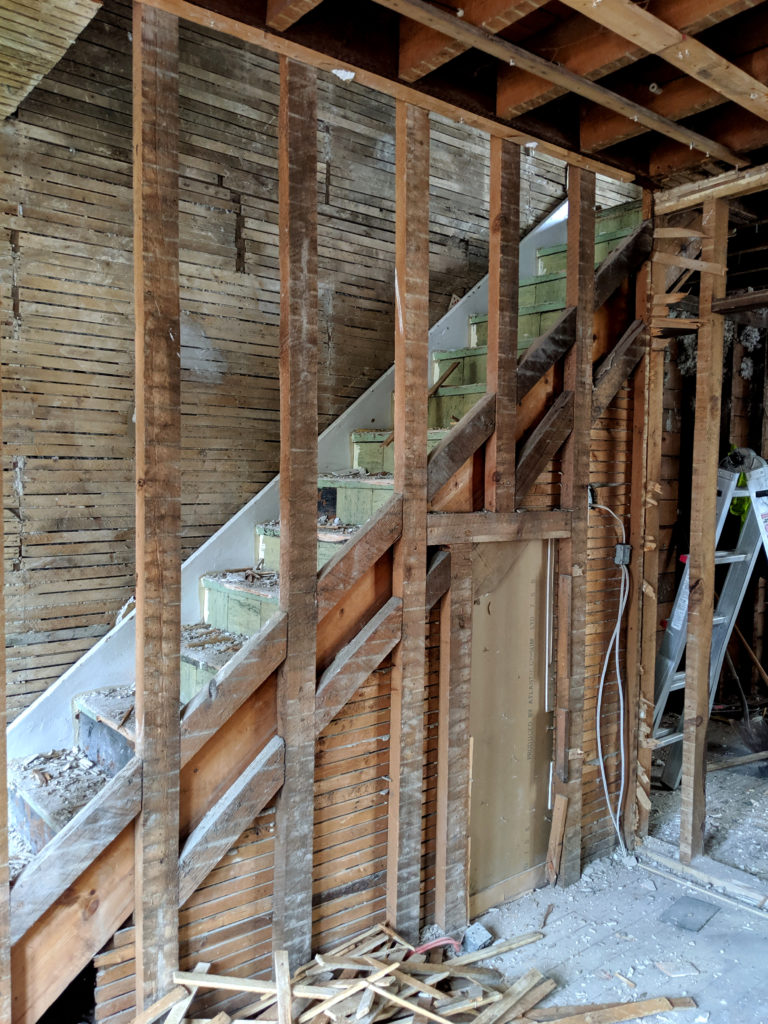
The wall along the stairs that will soon cease to exist. 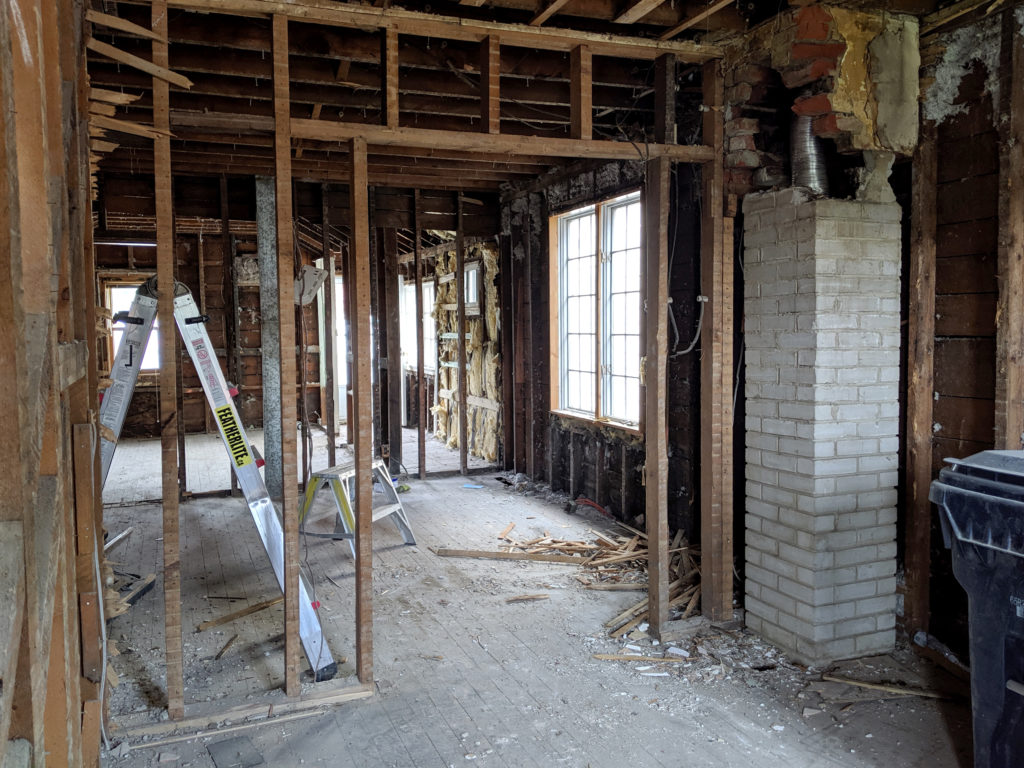
That stubborn chimney.
The folks we hired weren’t interested in removing it… can’t say I blame ’em.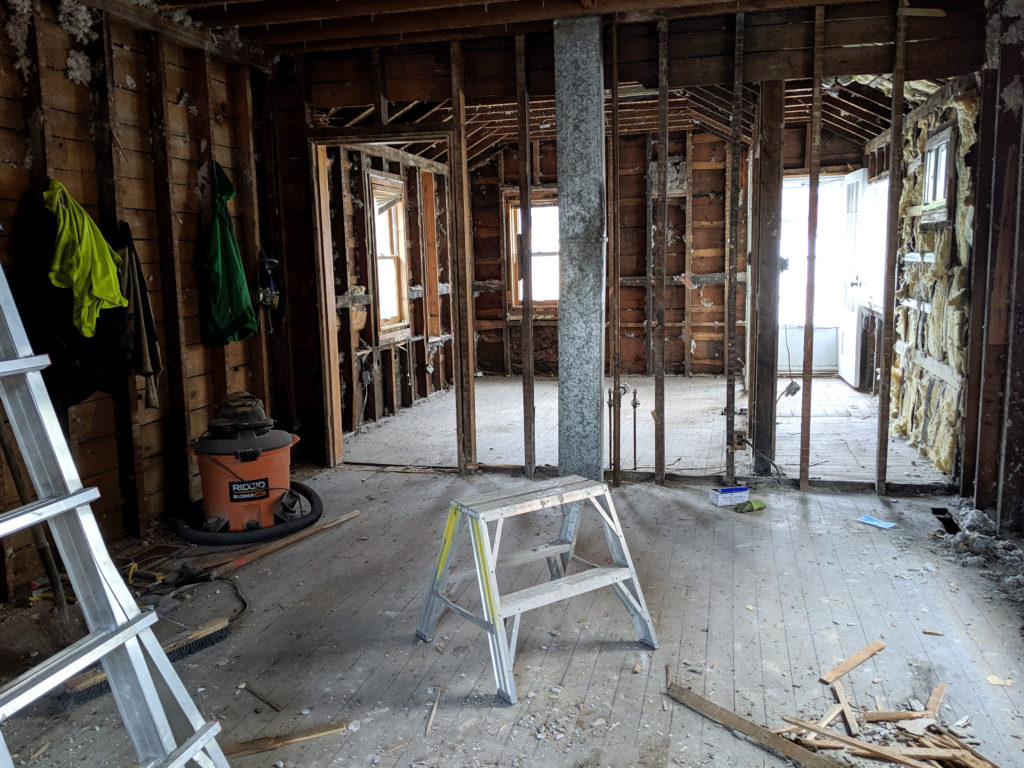
Notice the carpet is gone! And so is everything else… 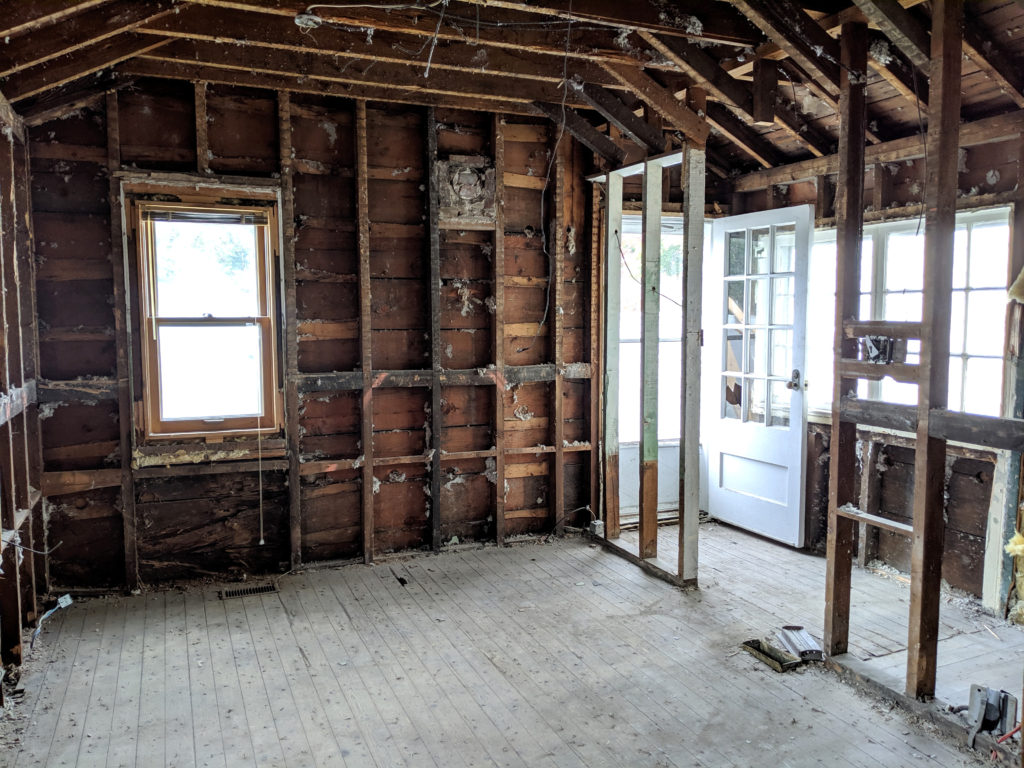
This kitchen has all the makings of something truly beautiful.
Think vaulted ceiling with beams.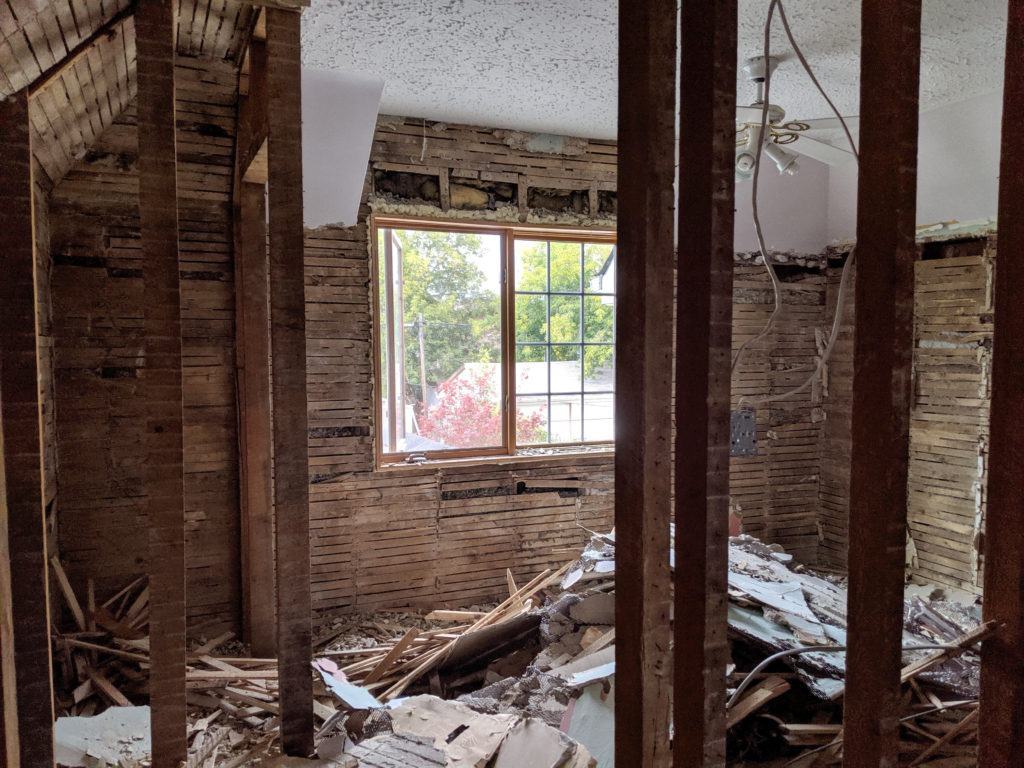
This heap was the guestroom/office. 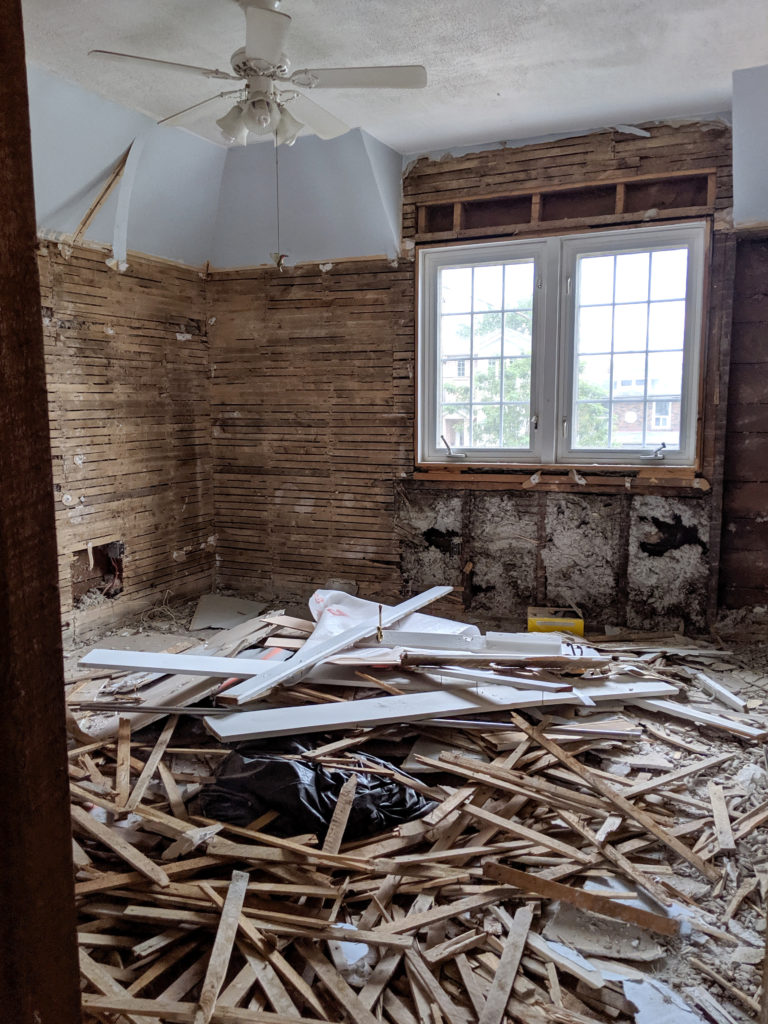
And this was the master bedroom. 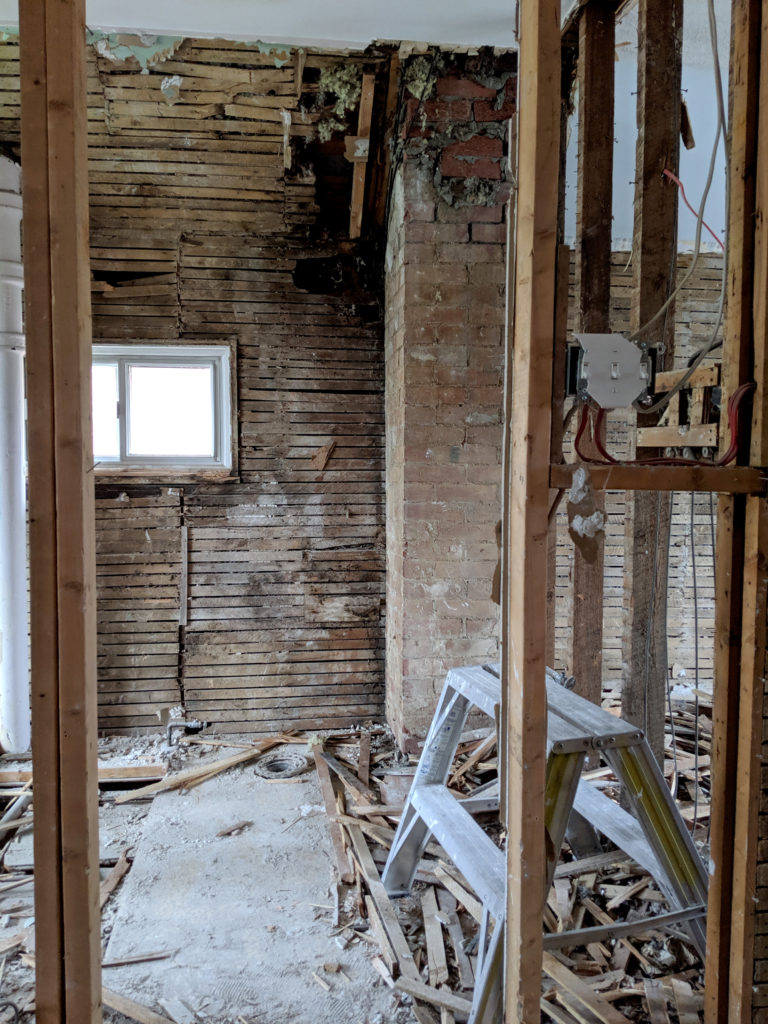
Lastly, this special gem was the bathroom and it already looks infinitely better! More to come on this.
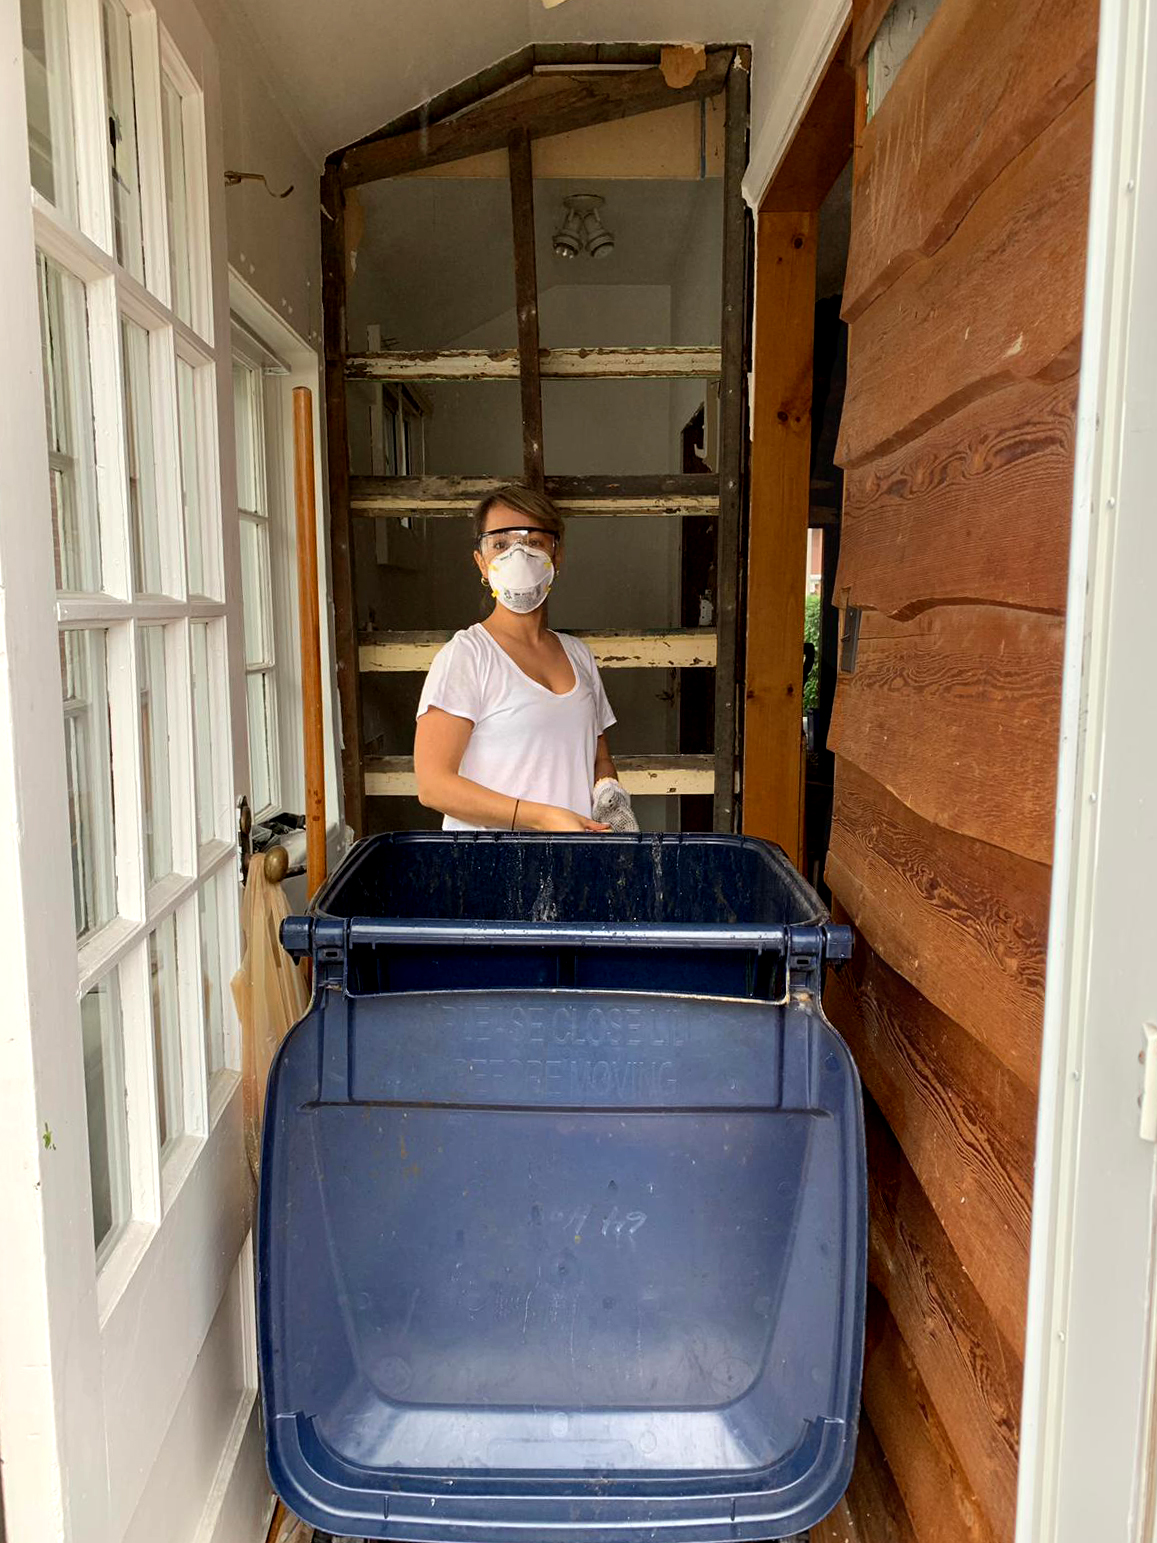
This has been the phase that never ends, because it has been going onnnnn and on, my friends! In the days following the above photos, our contractors came back for round two of strapping removal and clean-up. But just guess what became a family affair – yep, chimney removal. Don’t try this at home, kids.